Winterwanderung zur Gemmi
Wie der Zufall so spielt, stand ich im März 2022 vor der Herausforderung eine der mehrmals pro Jahr bei COOP angebotenen Spartageskarten für die Schweiz in den Händen zu halten ohne einen Plan zu haben, wohin es gehen könnte. So schaute ich am Vorabend des anvisierten Termins nochmal bei wegwandern.ch vorbei und stieß dabei auf die für eine Winterwanderung relativ lange Wanderung vom Sunnbüel bei Kandersteg zum Gemmipass. Die Wanderung versprach neben einer schönen Aussicht auch eine interessante Anfahrt über die Lötschberg-Nordrampe, die ich zuletzt vor 20 Jahren befahren hatte, und die Benutzung zweier Seilbahnen sowie eines Postautos.
So ging es also am frühen Samstag Morgen auf den Regionalzug nach Basel, um in Basel SBB den IC 61 nach Interlaken zu erwischen. Dieser entpuppte sich als deutscher ICE-Triebzug, was den Vorteil hatte, dass es kostenloses WLAN gab, welches in der Schweiz tadellos funktionierte.

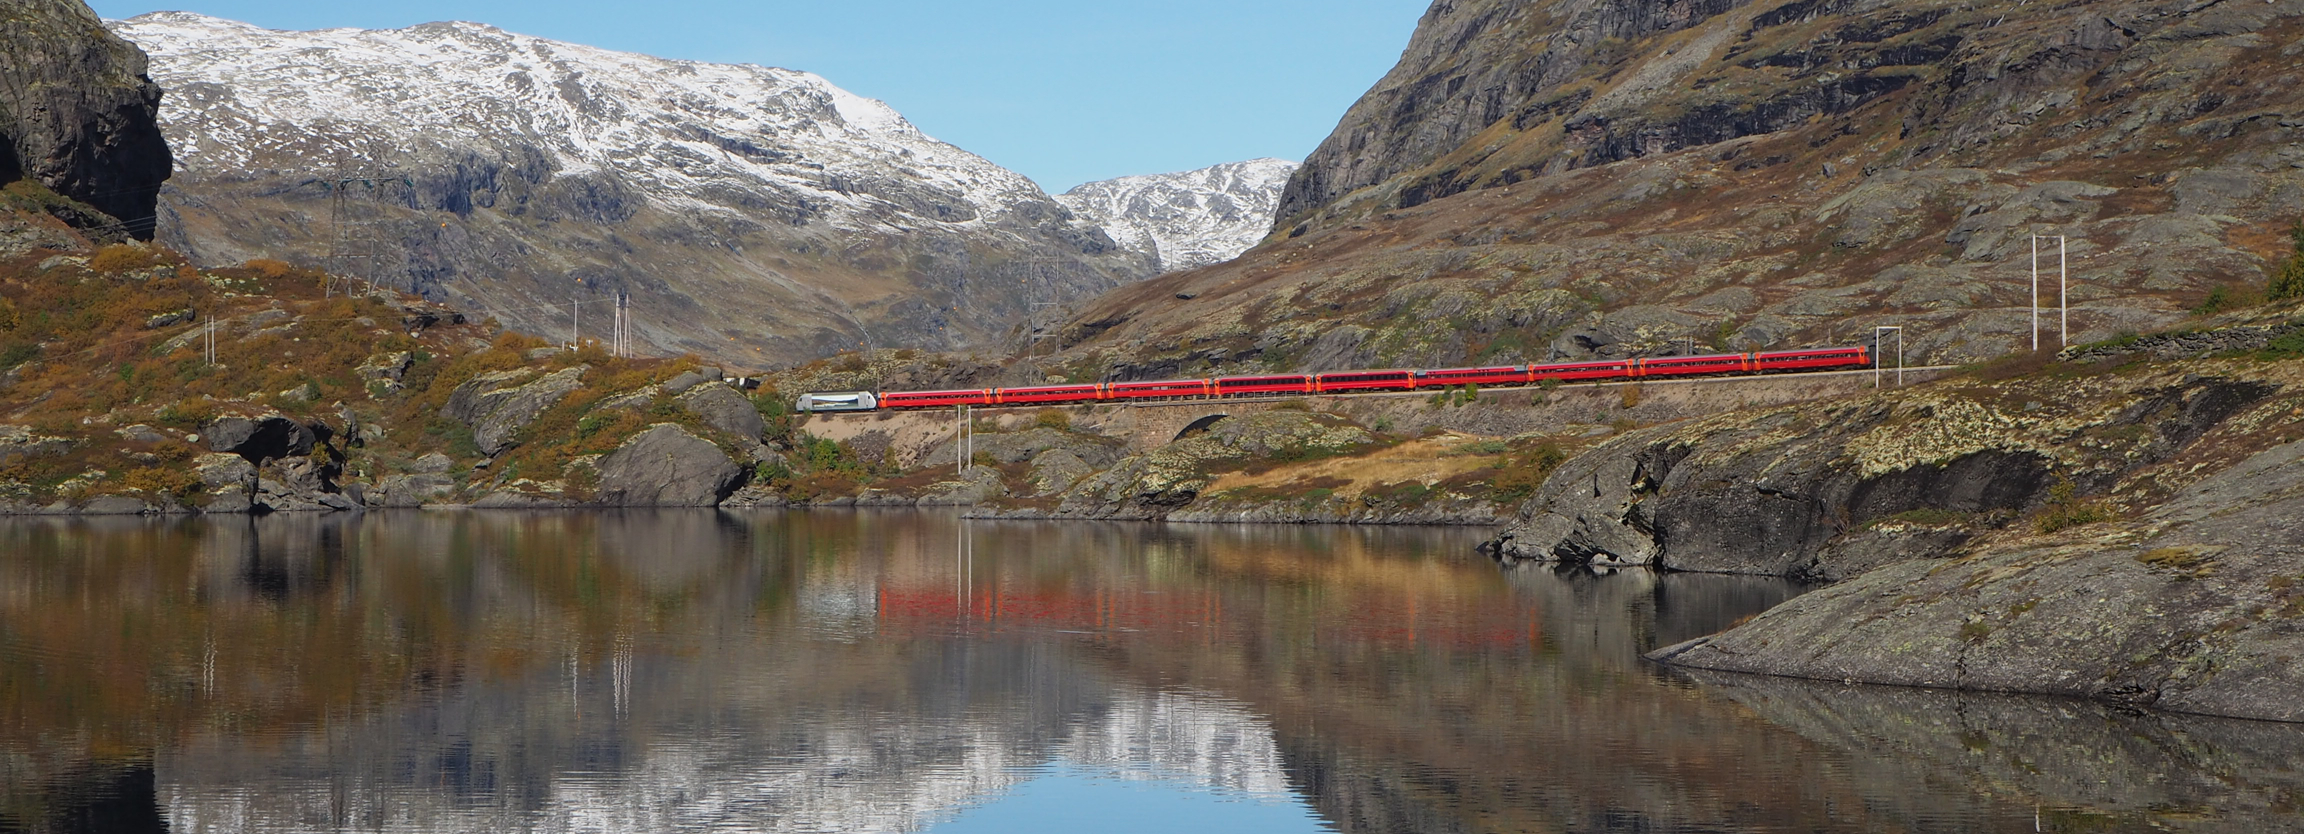
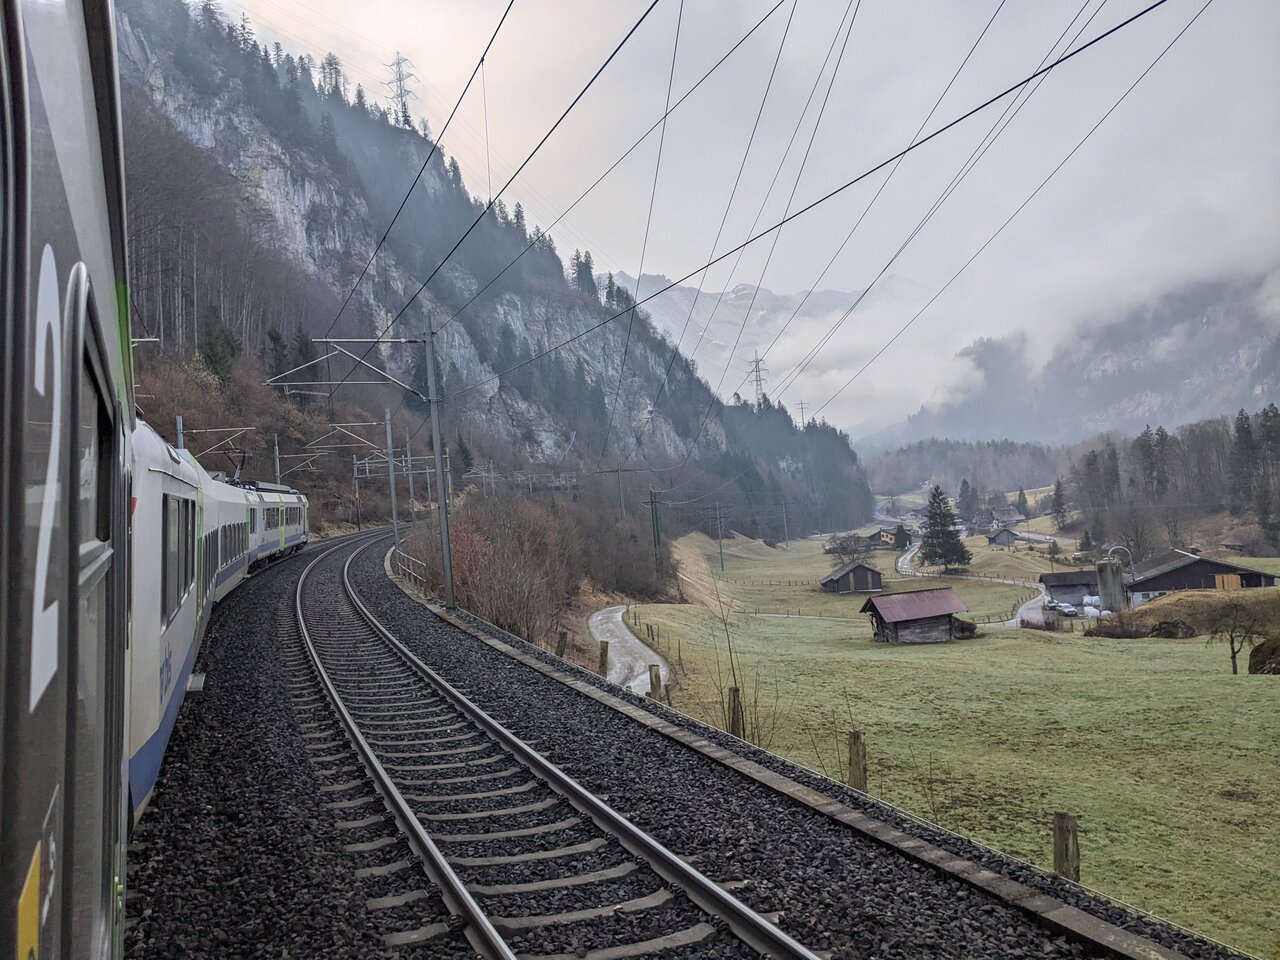
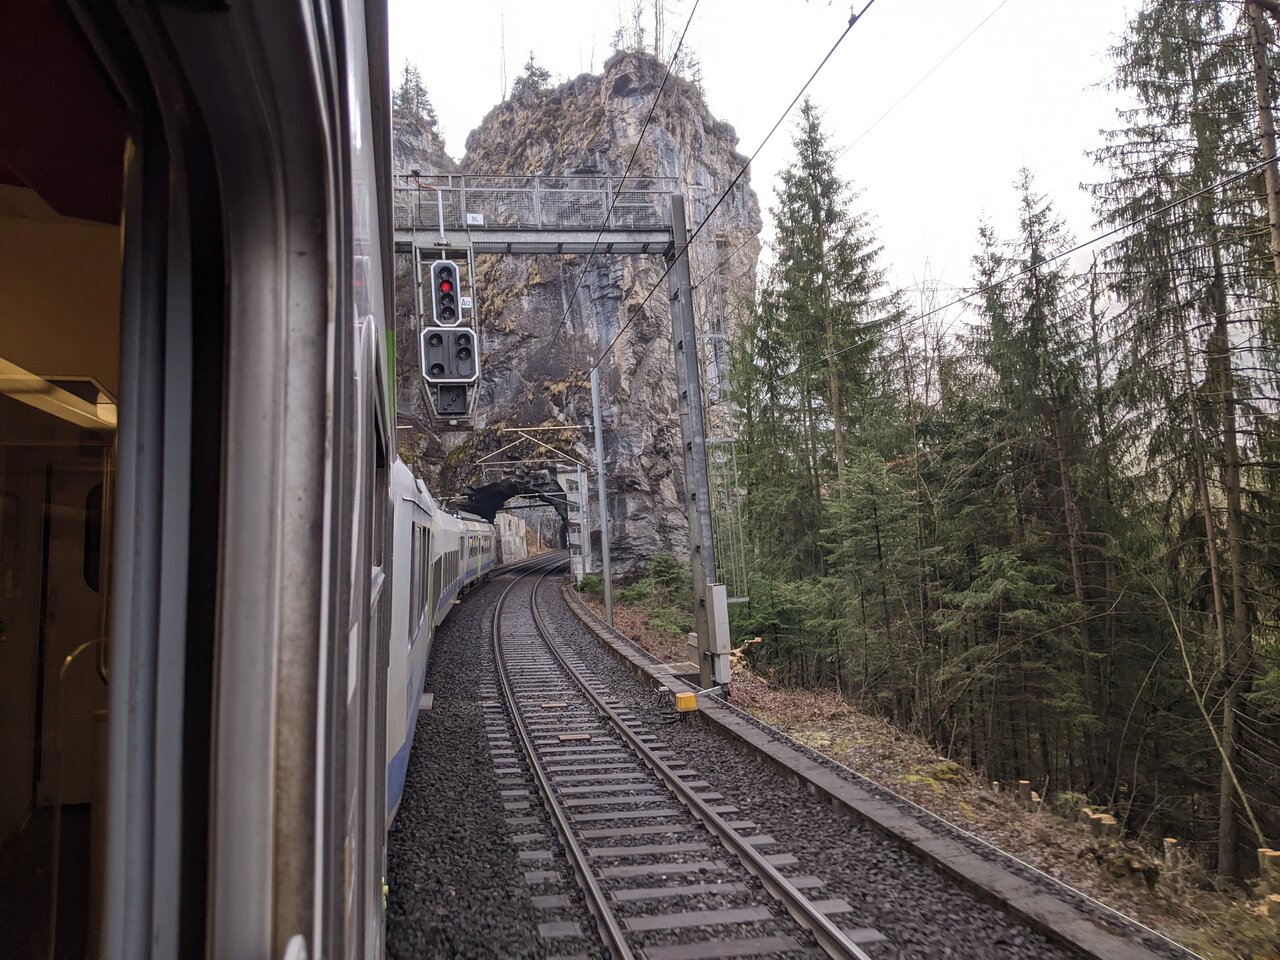
Seit der Eröffnung des Lötschberg-Basistunnels gibt es keine direkten Züge von Basel nach Kandersteg mehr, so dass ein Umstieg in Bern, Thun oder Spiez nötig ist. Geplant war also ab Bern die Fahrt mit dem von der BLS betriebenen Lötschberger, welcher im Stundentakt zwischen Bern und Brig über die Bergstrecke verkehrt. Doch kurz vor der Ankunft in Bern entdeckte ich in der Auskunft noch einen Entlastungszug nach Brig, der kurz vor dem Taktzug abfuhr, aber wegen der kurzen Umsteigezeit nicht als Anschluss ausgewiesen wurde. Tatsächlich konnten wir diesen Zug aber mit einem Spurt durch die Unterführung problemlos erreichen und siehe da: Es handelte sich um einen älteren BLS-Triebzug der Reihe RBDe 4/4 (Privatbahn-NPZ), welche noch Fenster zum Öffnen haben. Nachdem kurz vor Spiez langsam auch der Nebel aufklarte, stand einer wunderbaren Fahrt über die Lötschberg-Nordrampe somit nichts mehr im Wege, wie die folgenden Bilder belegen.
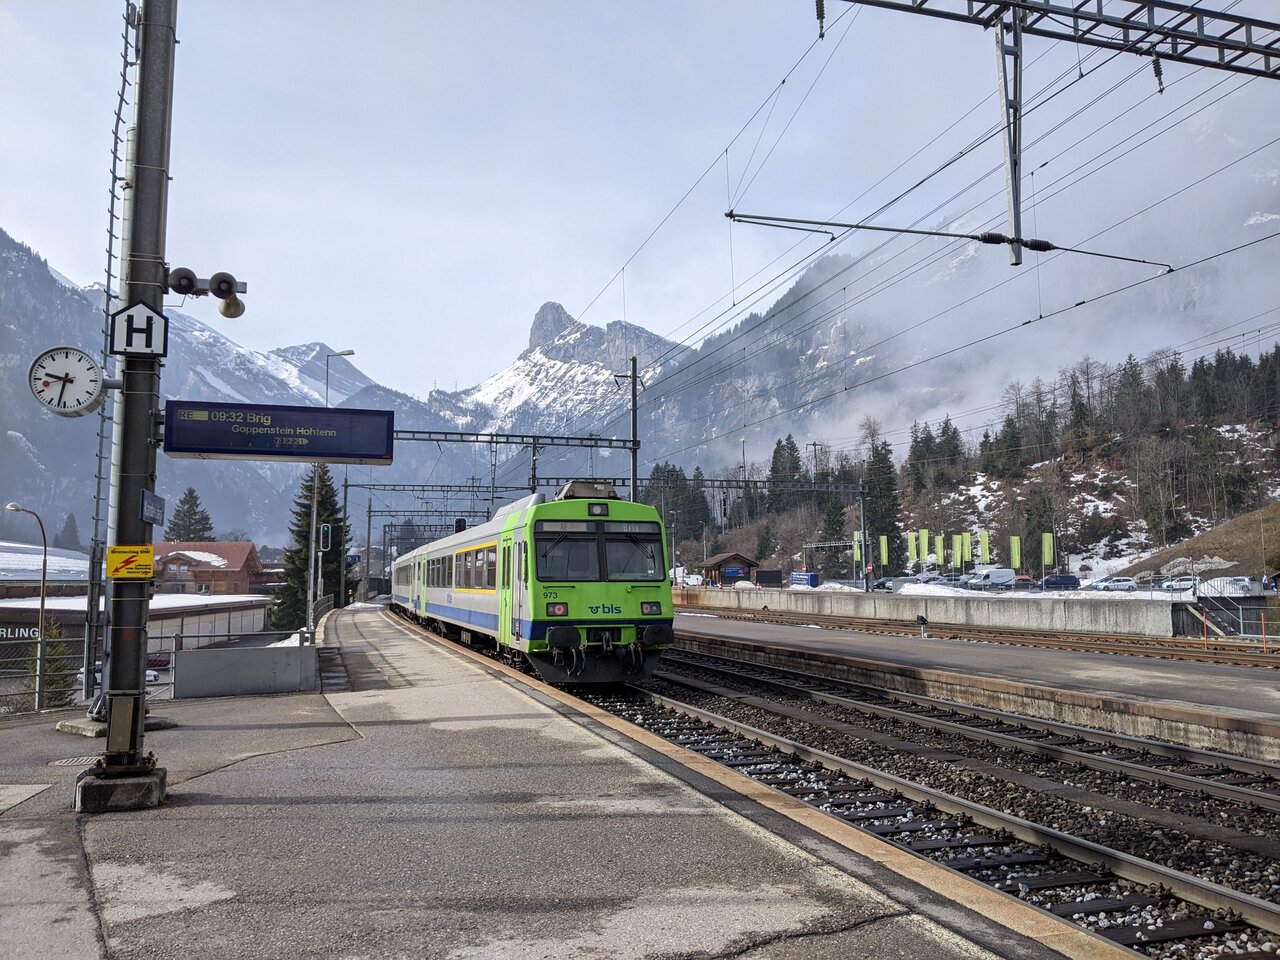
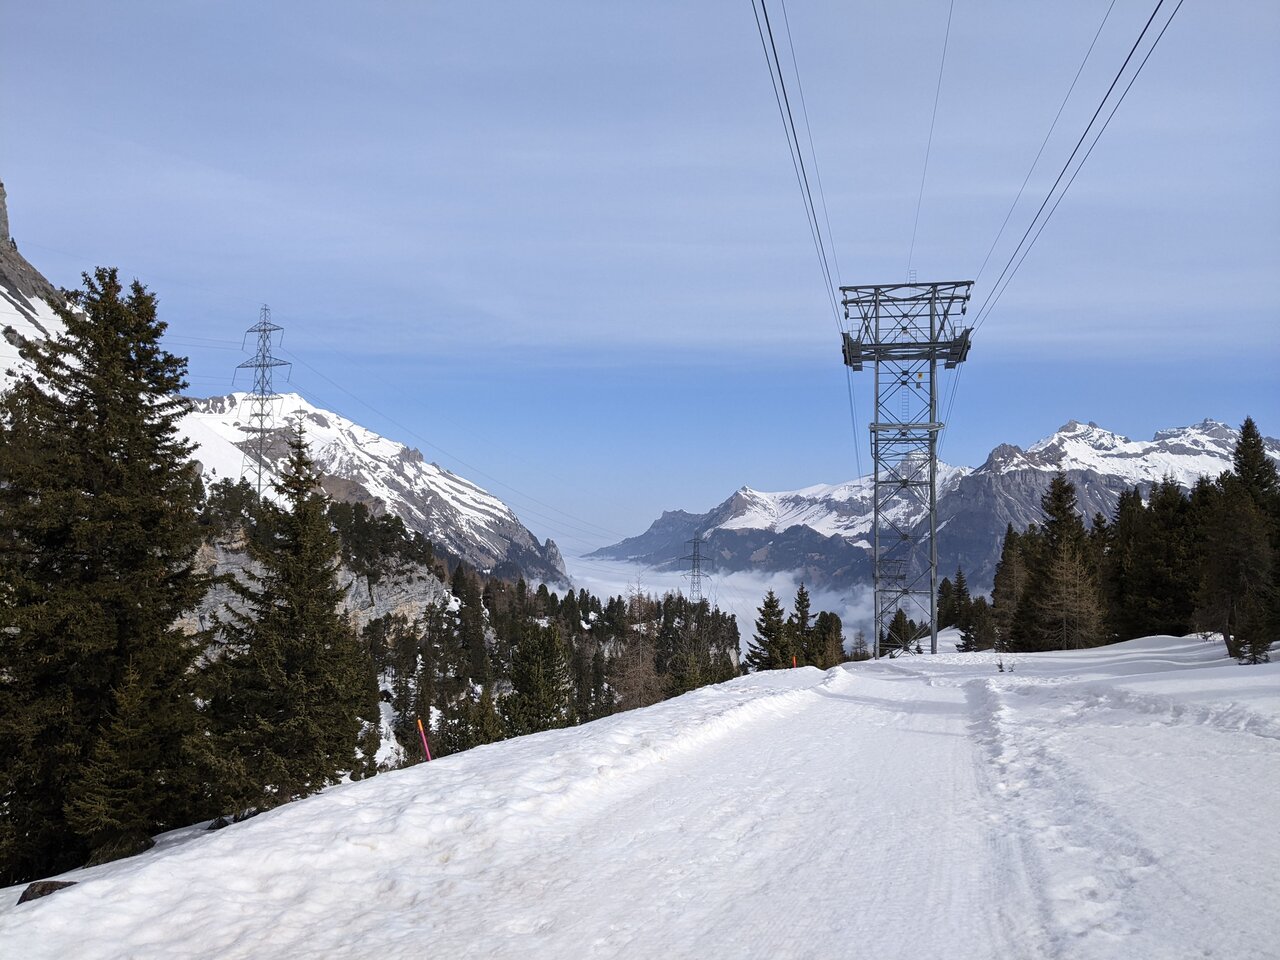
In Kandersteg mussten wir den Zug schweren Herzens verlassen und in einen Bus zur Talstation der Luftseilbahn zum Sunnbüel umsteigen. Dort angekommen ging es nach kurzer Wartezeit und Ticketerwerb auch schon hoch auf den Sonnenbalkon über Kandersteg, und die Wanderung auf präparierter Piste (Wanderstöcke und/oder spezielle Winterwanderschuhe nicht vergessen!) konnte beginnen.
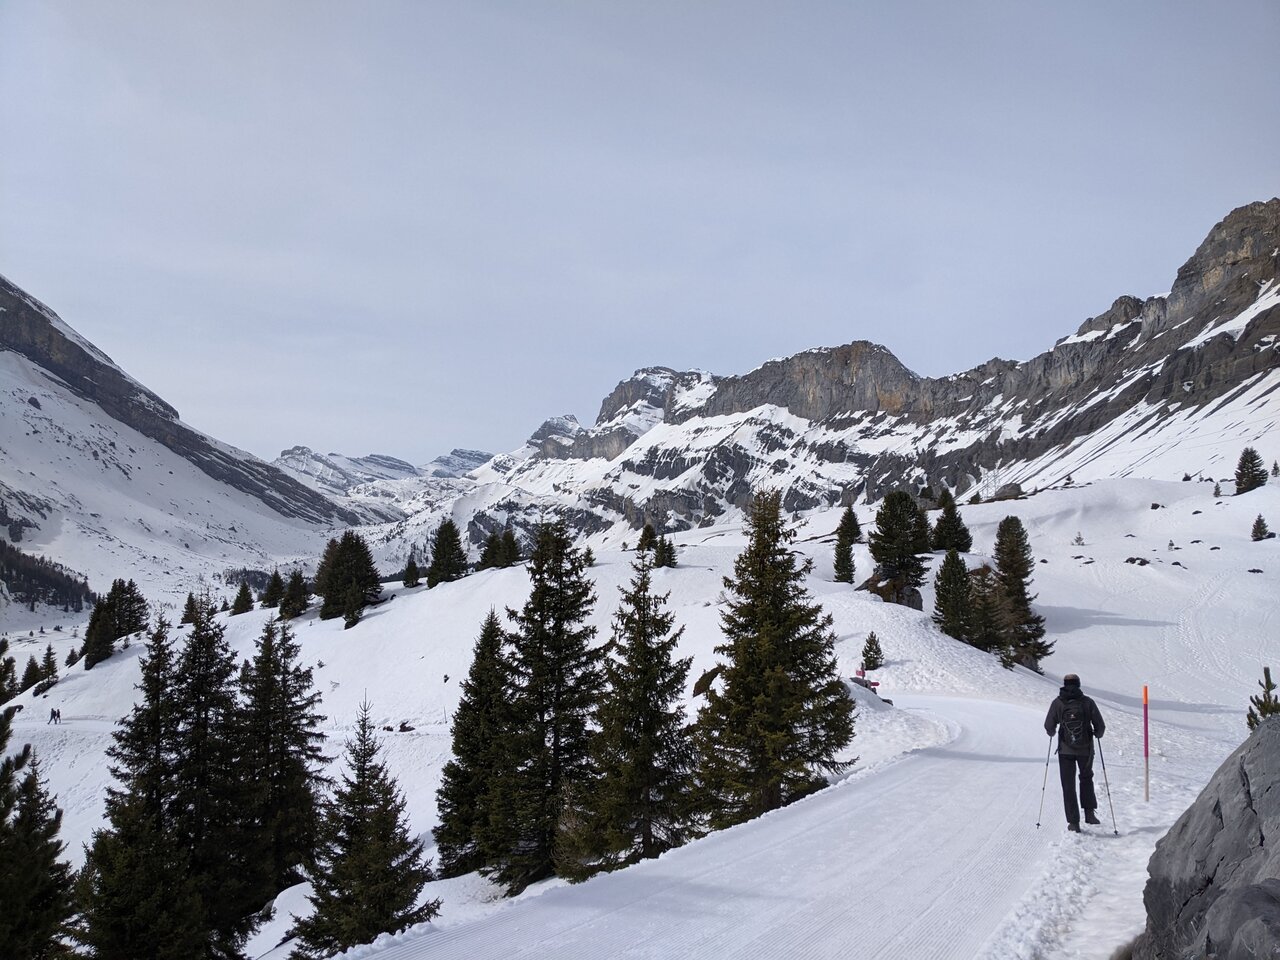
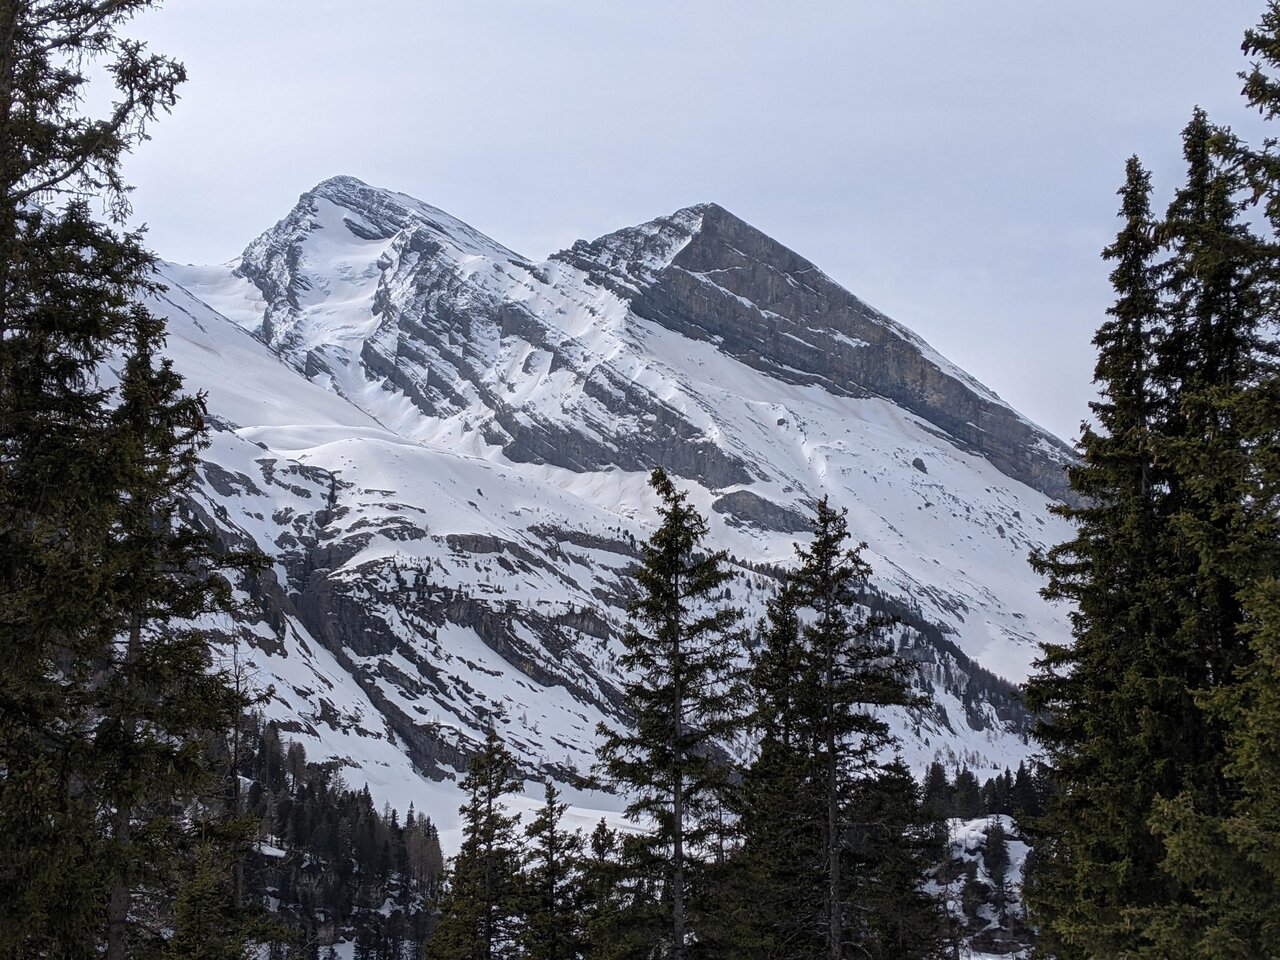
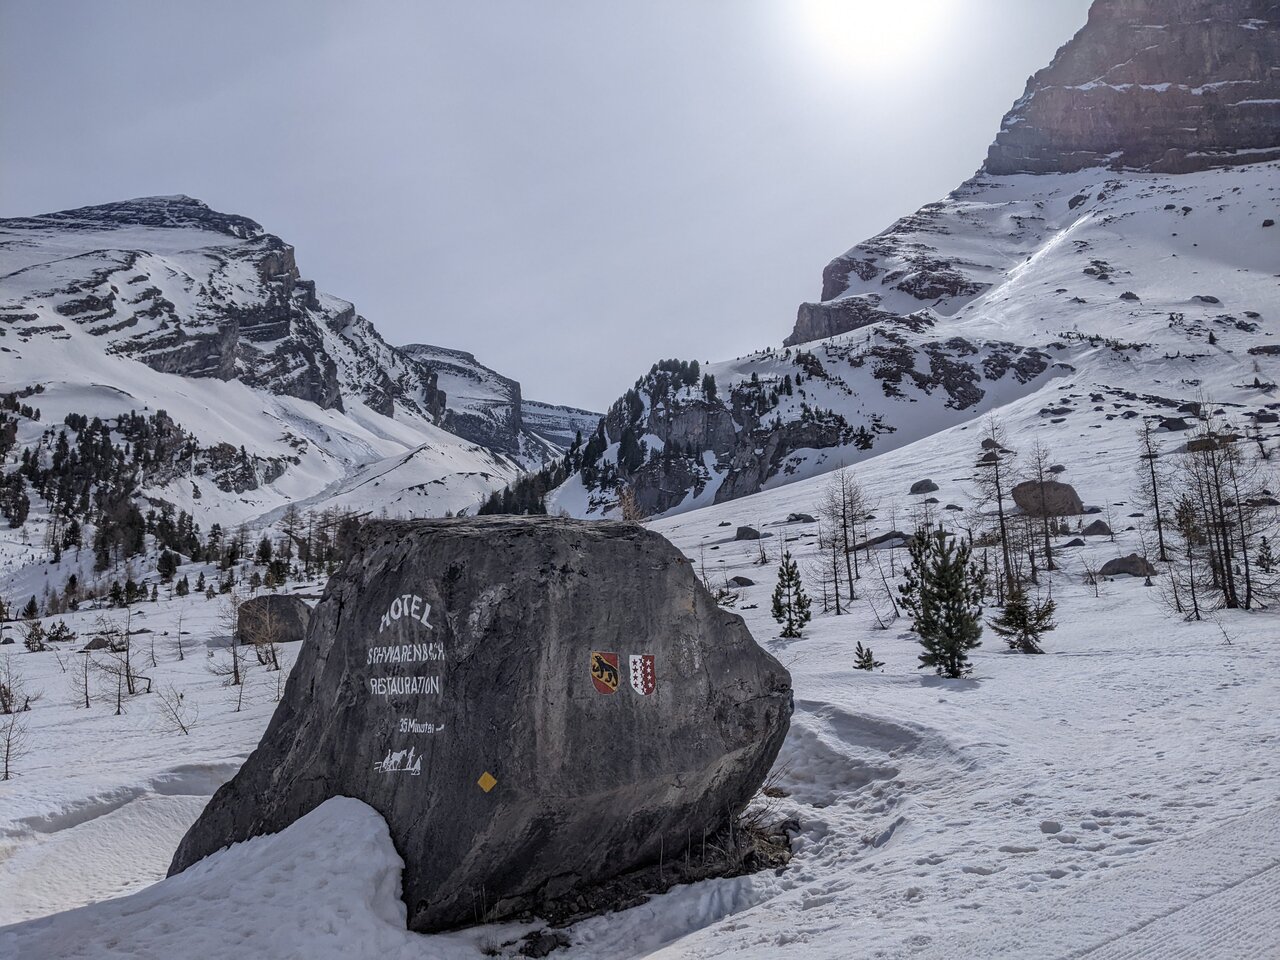
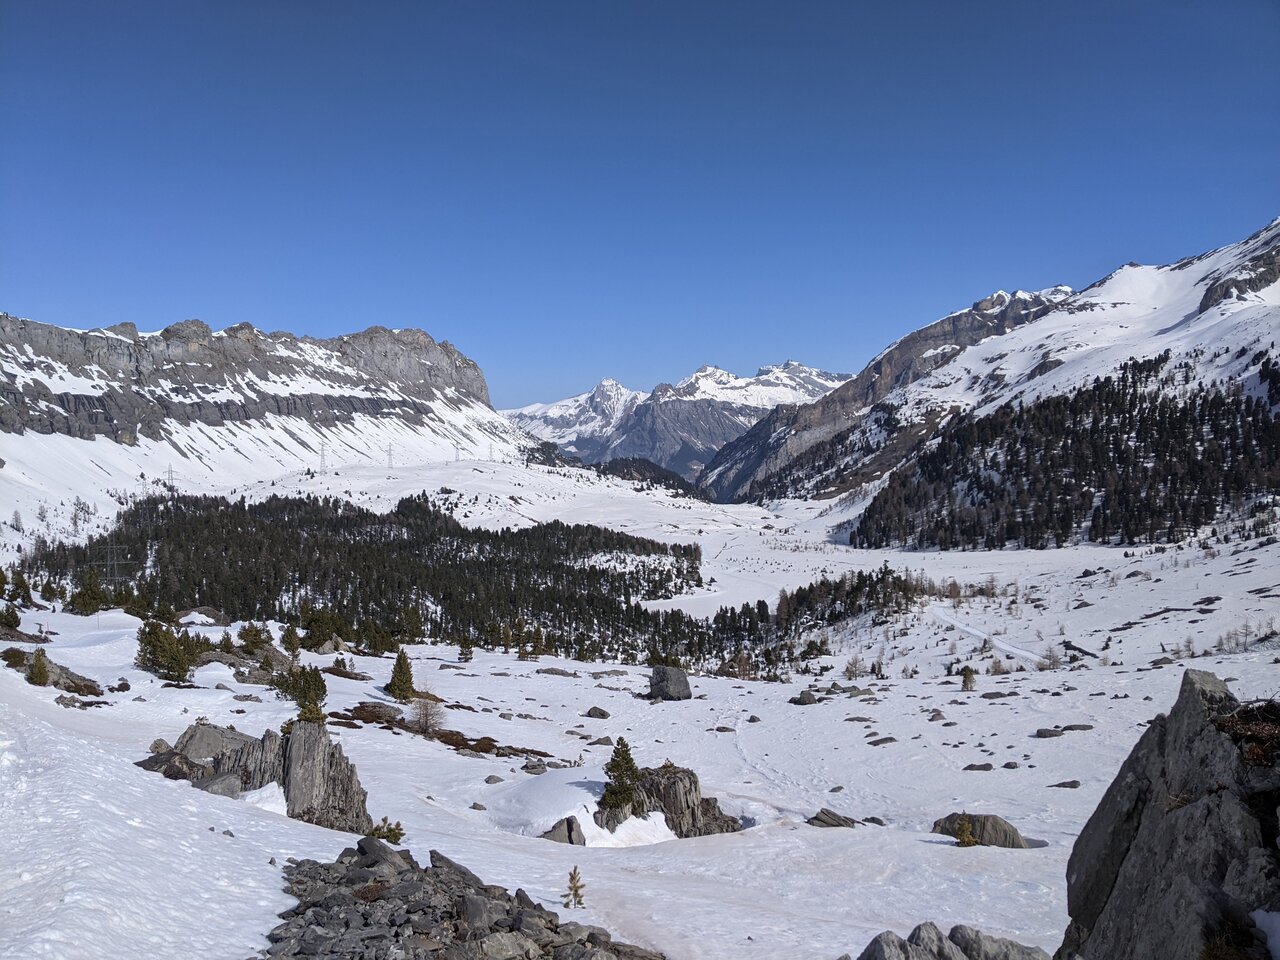
Immer das Balmhorn und die Pyramide des Altels im Blick führt die Strecke über die Kantonsgrenze Bern / Wallis an einem pittoresken Arvenwvald entlang zum einsam gelegenen Berghotel Schwarenbach.
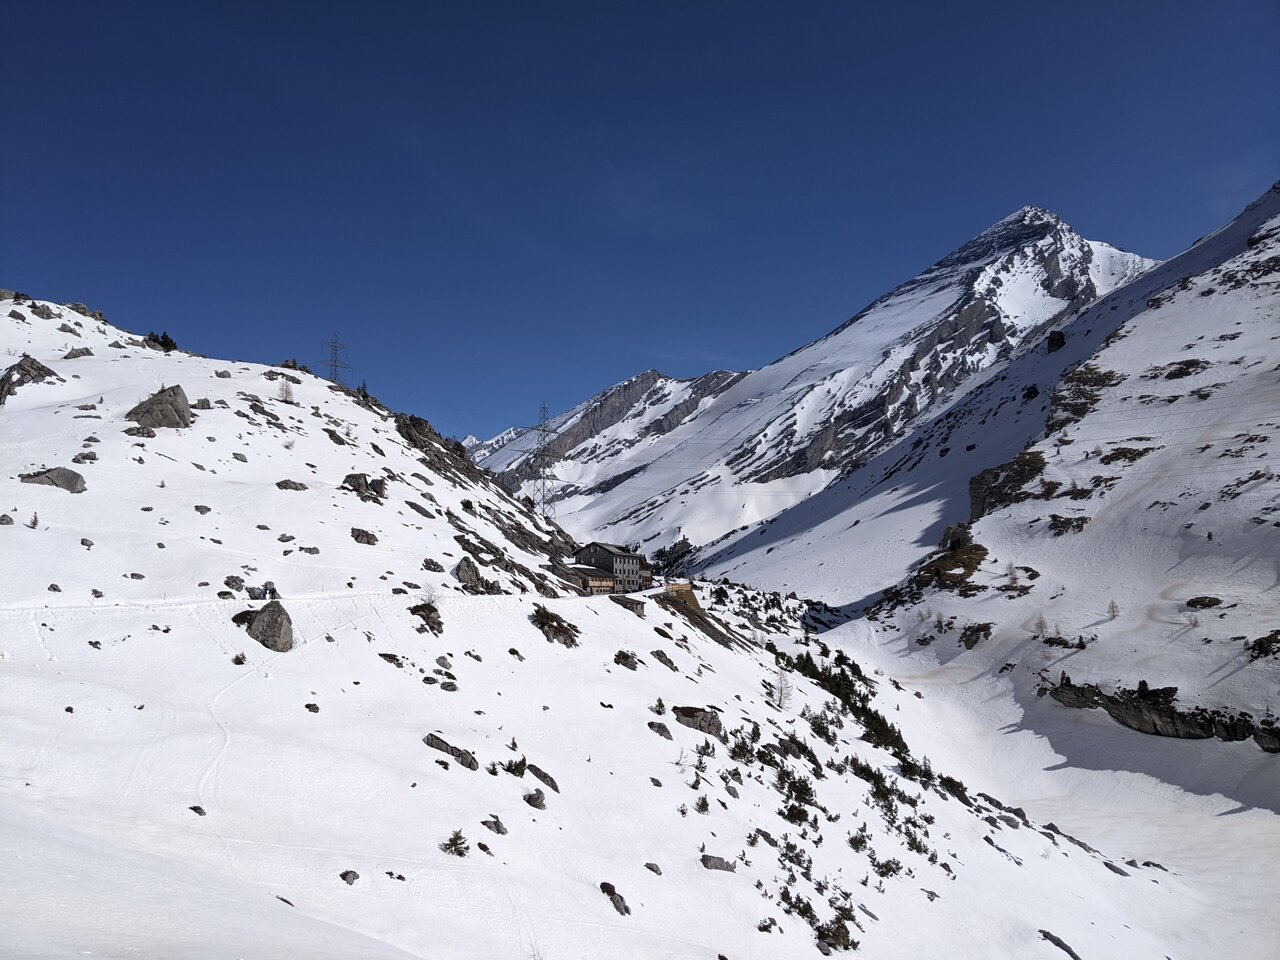
Hier hätten wir eine Rast einlegen können, aber da die Beine noch frisch waren und wir etwas dabei hatten, entschieden wir uns, weiter zu wandern und erst am Daubensee eine kurze Pause einzulegen. Dieser ist im Winter zugefroren, und der Wanderweg verläuft daher direkt über dem See.
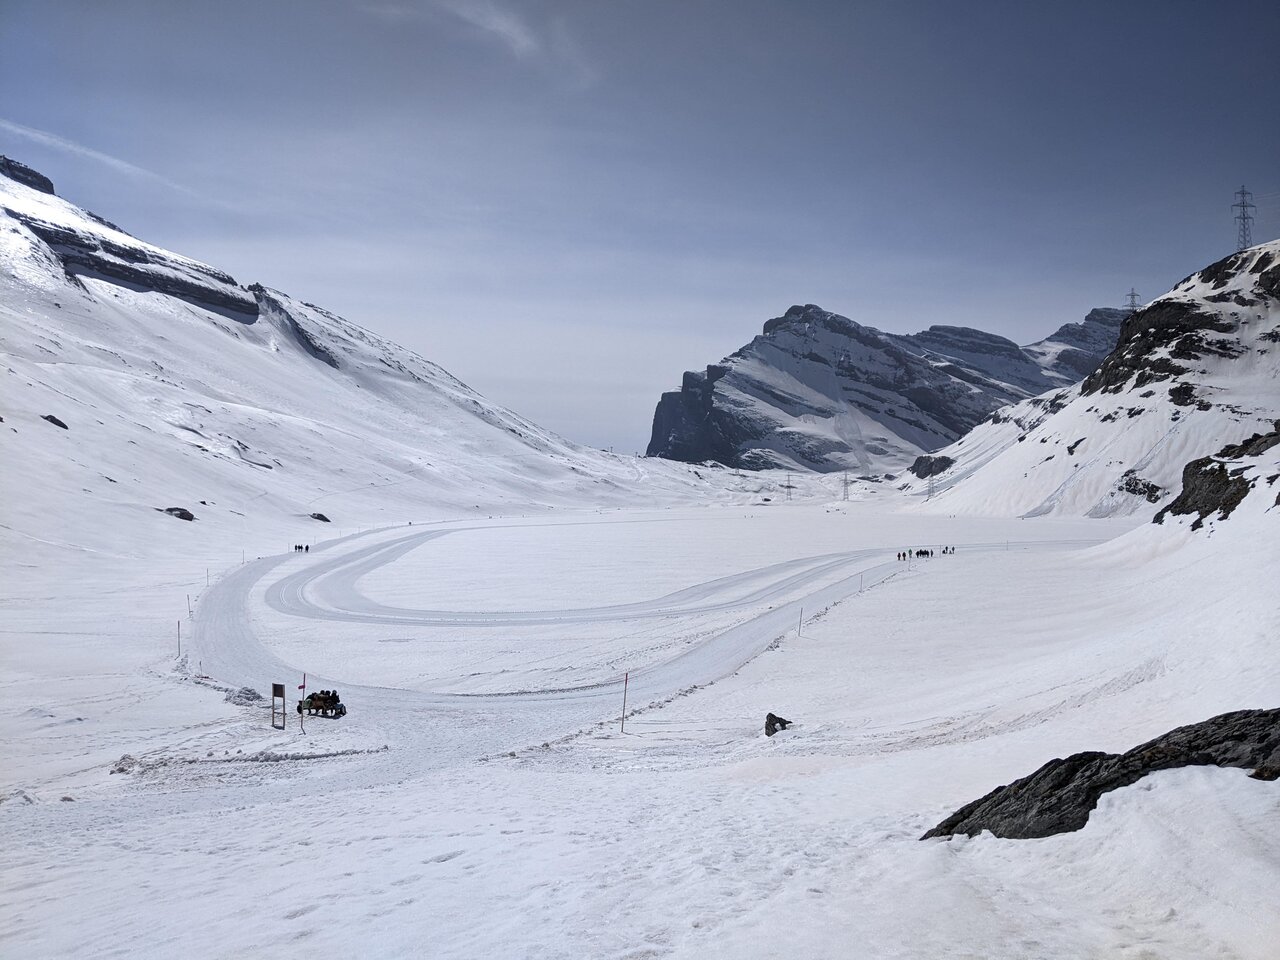
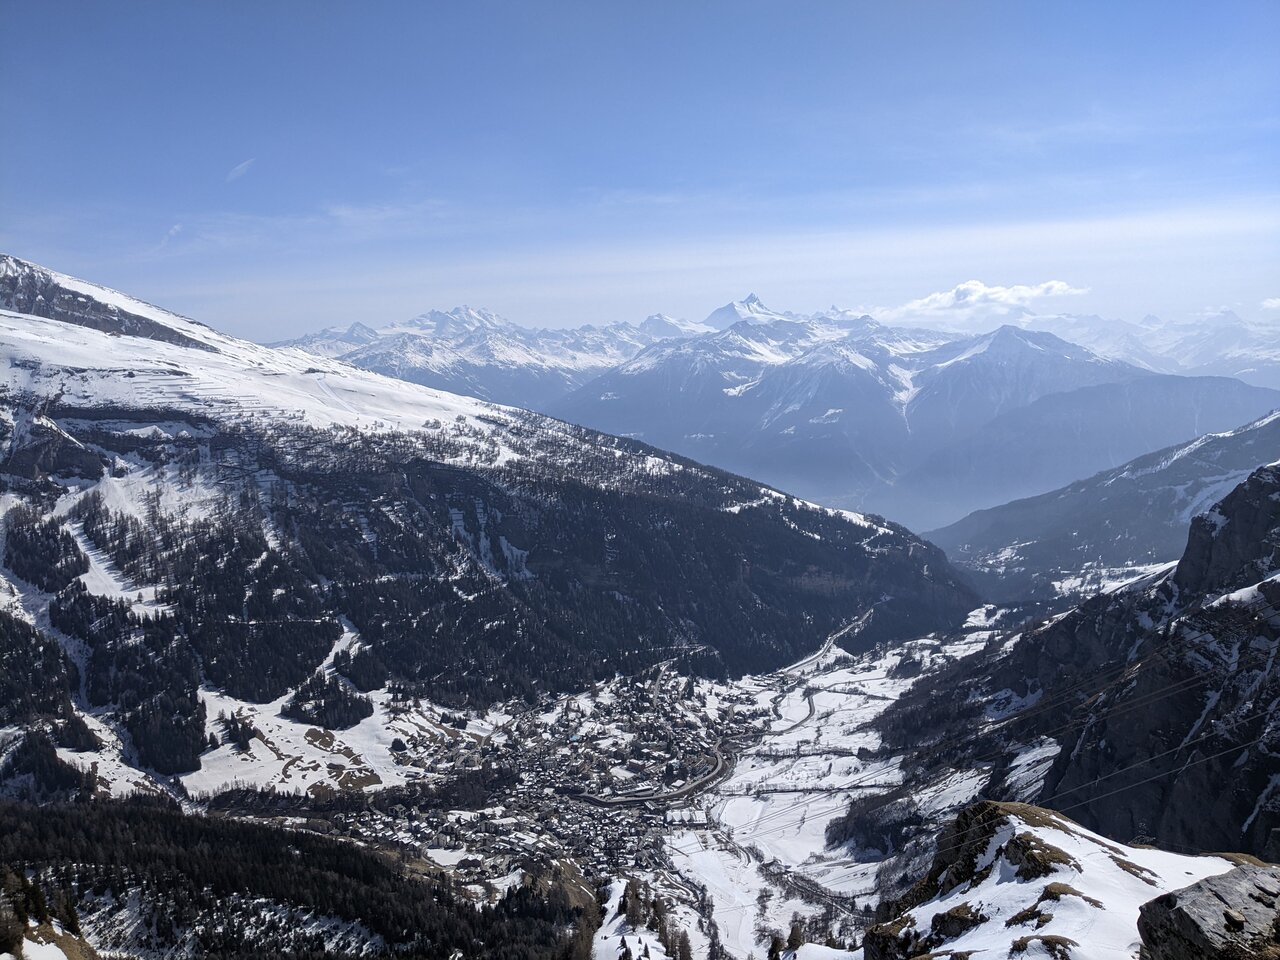
Hinter dem Daubensee beginnt auch schon der Schlussanstieg zum Gemmipass, wo man von einem prachtvollen Blick auf die Walliser Alpen mit ihren 4000ern begrüßt wird.
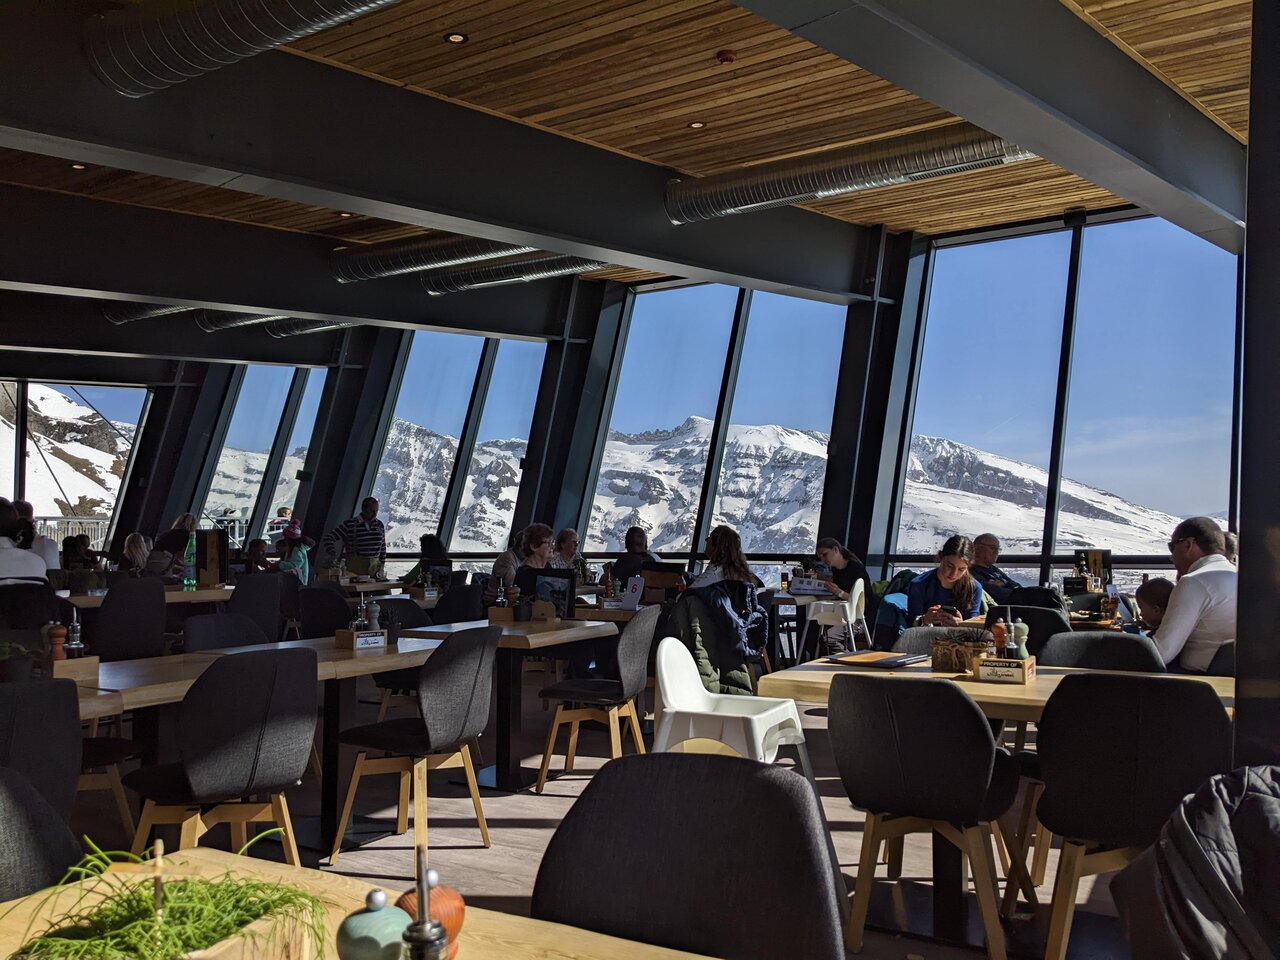
Bevor es mit einer weiteren Luftseilbahn hinunter in den Kurort Leukerbad ging, hatten sich die Wanderer nach einer anstrengenden Tour natürlich eine reichhaltige Stärkung verdient. Hierfür bietet sich das Berghotel Wildstrubel an, welches neuerdings unter dem Namen Gemmi Lodge 2350 firmiert. Hier kann man zum Beispiel ein Rösti oder Älplermagronen zu sich nehmen. Vom Restaurant aus hat man durch die Panoramafenster ebenfalls einen guten Ausblick.
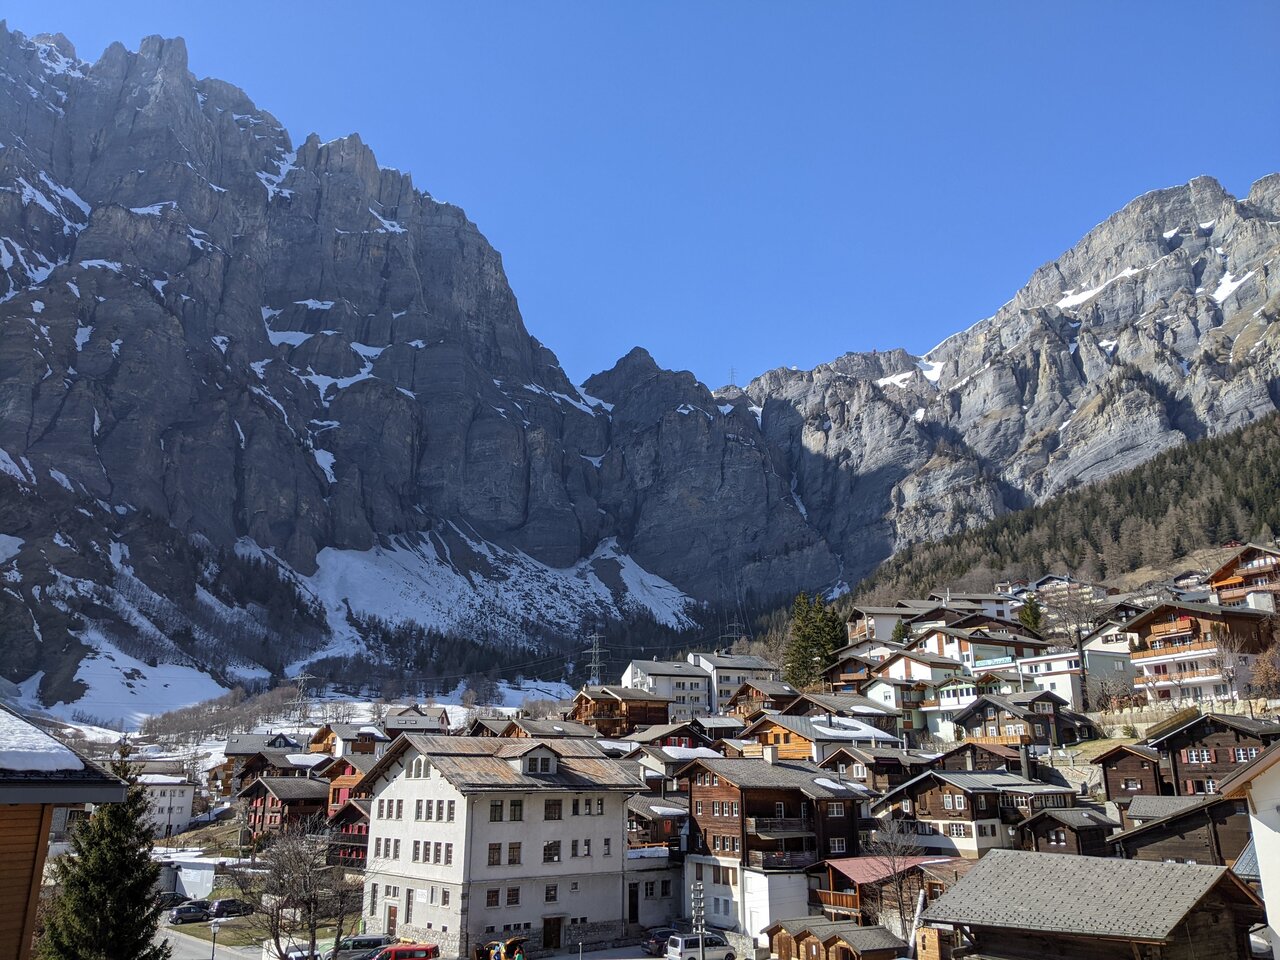
Im Sommer lässt sich die Wanderung noch mit dem steilen Abstieg durch die Gemmiwand nach Leukerbad fortsetzen, im Winter muss man mit der Seilbahn vorlieb nahmen, was aber auch wesentlich knieschonender ist.
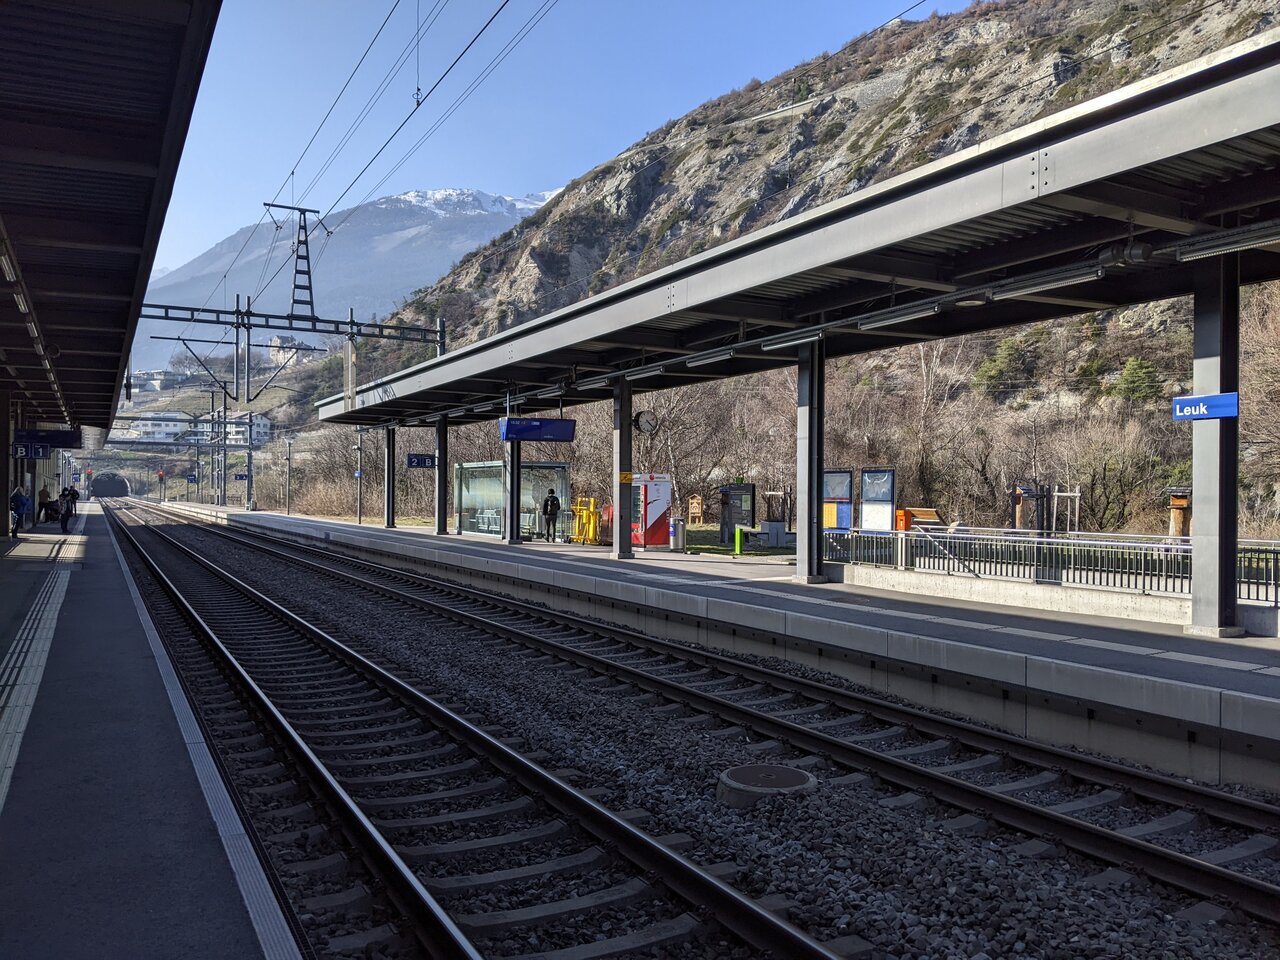
Ab Leukerbad lässt sich die Tour mit dem Postauto (in Fahrtrichtung links sitzen!) weiter ins Rhonetal zum Hauptort Leuk mit seinem funktional gestalteten Bahnhof an der Simplonline fortsetzen.
Der schnellste Weg von Leuk nach Bern und Basel führt sicherlich durch den Lötschberg-Basistunnel (Umstieg in Visp), aber man kann natürlich auch die Gelegenheit nutzen, bei der Rückfahrt noch die Lötschberg-Südrampe und den Scheiteltunnel mitzunehmen (Umstieg in Brig) und so die komplette Bergstrecke zu befahren. Da es noch relativ früh am Nachmittag war und wir mit der Tageskarte flexibel bei der Routenwahl waren, entschieden wir uns jedoch für den längeren Weg über die Westschweiz (Umstieg in Lausanne). Aus dem fahrenden Zug heraus konnte so noch der Sonnenuntergang über dem Genfer See festgehalten werden.
